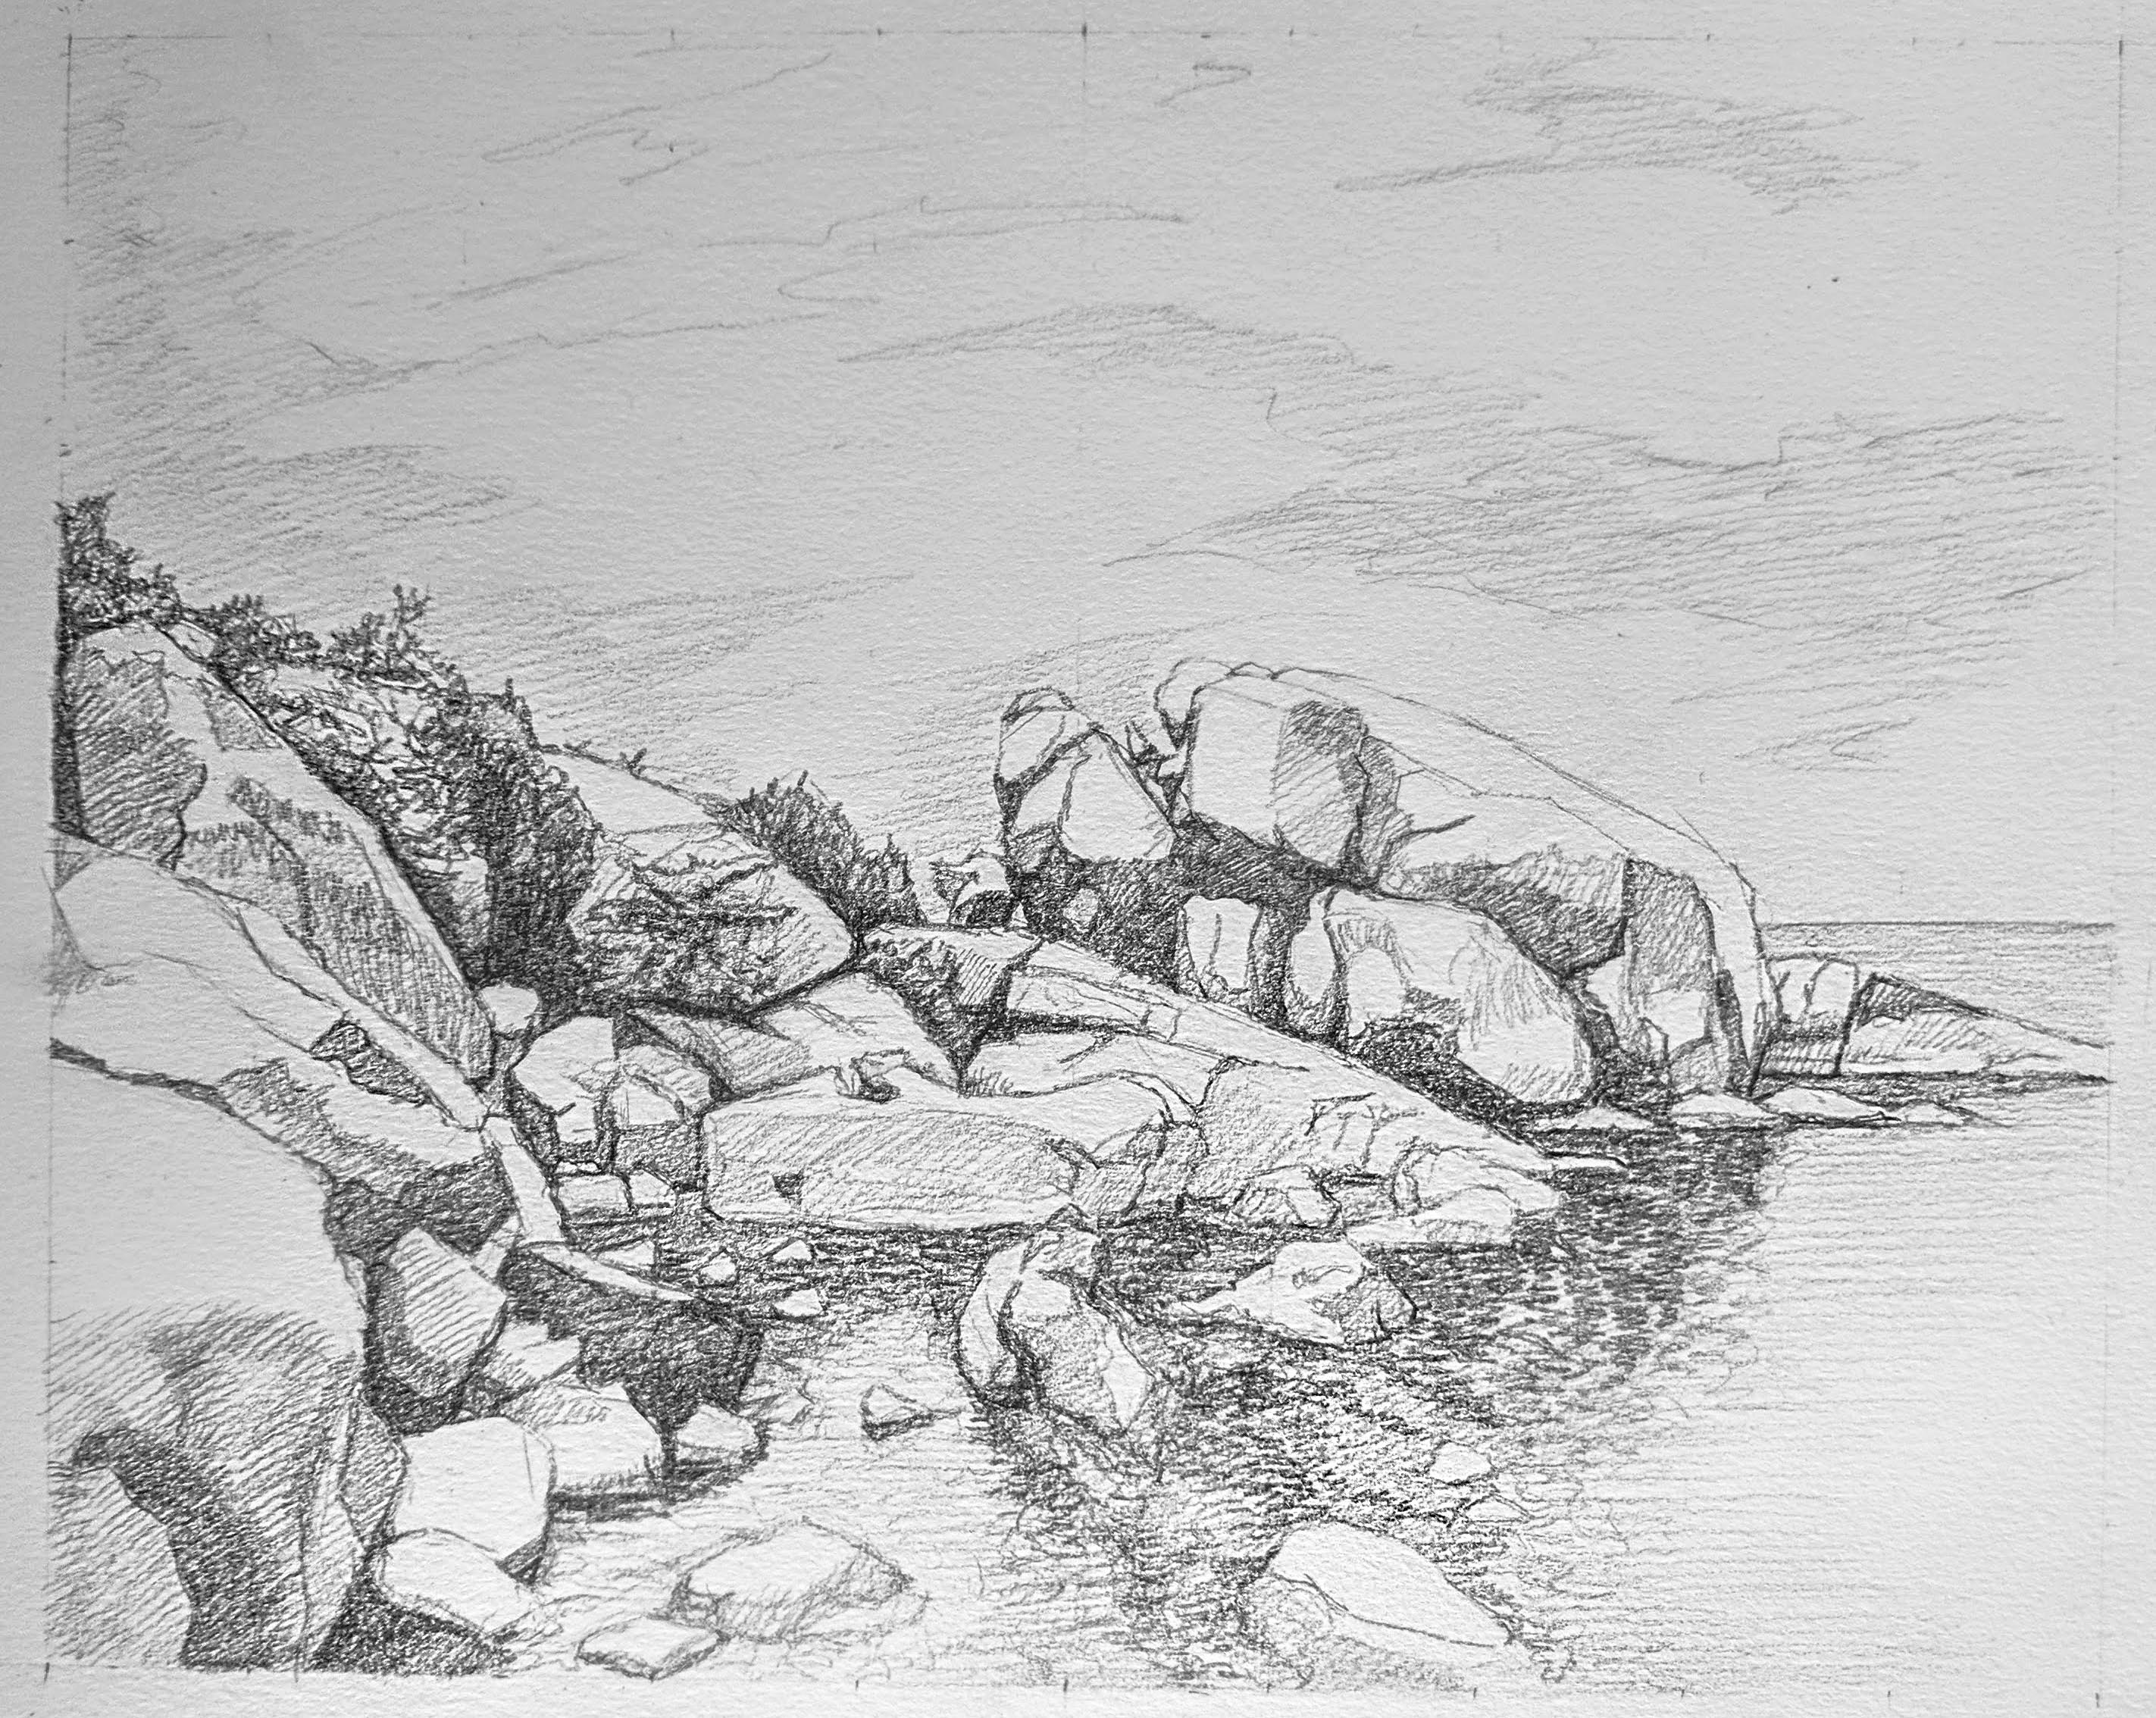

Welcome to my first drawing tutorial. In this tutorial, I will show you how I created the drawing above. I picked this picture because it can be challenging to draw and it is a complex image with lots of organic shapes and details. The point of this tutorial is to show you a method for handling a complex scene, so you can draw anything.
While this drawing tutorial is about drawing this particular picture, the process is applicable to any complex image. This drawing tutorial is also a vehicle for me to describe an overall process and mental approach to all kinds of drawing. This process for breaking down a complex image is applicable to all kinds of art.
So I hope by reading and doing the tutorial you gain some insight and experience with the following skills, which I believe lead to good drawing ability:
- How to handle a complex image.
- How to break down the complexity into manageable steps
- How to work on a drawing with a lot of elements, and keep them all together
- How to break down organic forms, surfaces, and textures into manageable drawing tasks.
Let's begin!
Tools
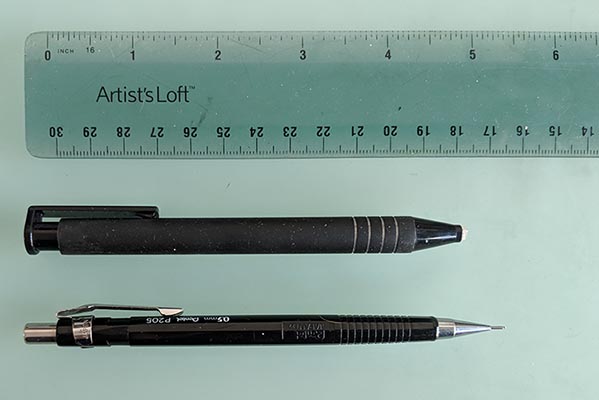
The tools you will need are:
- Ruler
- Mechanical Pencil
- Eraser
- Paper or Sketchbook
You can use any tools you'd like. I'll describe the ones I prefer and tell you why.
Ruler: A decent and durable ruler is essential for setting up the drawing box and grid that I'll describe later
Pencil: I prefer a mechanical pencil with a 2B lead. I like mechanical pencils for the consistency of line width and no need to sharpen. The drawing process I describe will not have a very broad range of values, so the range that a 2B pencil lead can create will suffice.
Eraser: I really love pen-style eraser sticks like these. They are inexpensive and great for precision erasing.
Paper: The drawing process I describe below will very likely take more than a few hours to complete. You'll very likely want to work on it in more than one sitting. For a multi-session drawing like this, I like to use a paper with a weight that can handle a lot of work. The drawings in this tutorial were done on the 9x12 size Canson Mix Media sketchbook Its 98lb. paper is just the right amount for this exercise. It's also heavy enough that if I decided I want to turn the drawing into a watercolor or gouache painting, the paper will handle it.
Any task is easier and more fun with the right tools, so make sure you have them all and within easy reach.
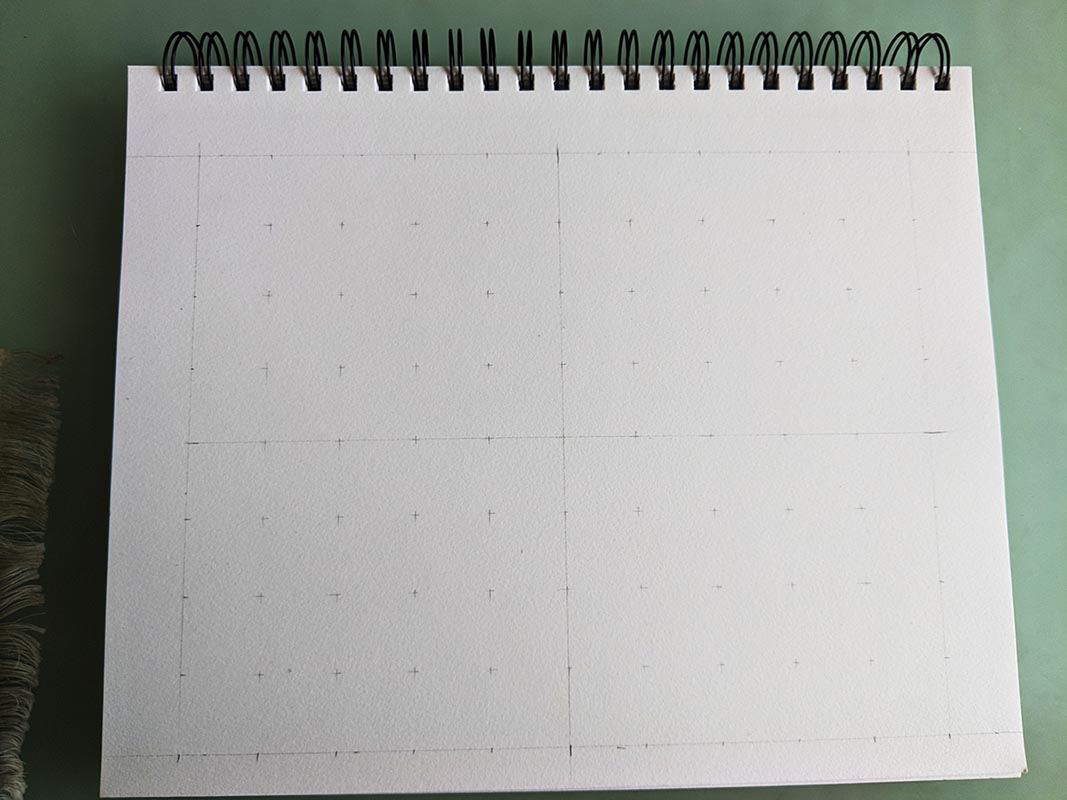
Step One: The Grid
The first task is to set up your drawing with a grid. Draw on your paper an 8-inch by 10-inch rectangular box. On each side of the box, place a mark at each inch-point on each side of the box. What we are doing here is setting up an 8-inch by 10-inch grid.
Once you have marks on each inch point on each side, place your ruler to create a line between two corresponding inch marks on two sides of the box.
Take your time to do this with precision. The grid will serve as a scaffolding for your drawing and help keep it together. It will become an important helper when you've added more information to the drawing and it will help you manage the detail and keep your spacing and proportion intact.
One of the big things you are practicing and learning by doing this is avoiding a very common pitfall for beginners. Beginners will often begin a drawing and focus on one particular area of the drawing. After that, they will move on to another area and over-focus on it, and then maybe a third. While doing so, beginners often lose track of how all the parts of the drawing fit together as a whole.
It takes experience or instruction to pay attention and avoid letting the proportion and scale of any one area of a drawing get out of sync with the rest of the drawing. The grid will help you locate particular areas in the drawing quickly, and keep the proportion and scale of all the parts of the drawing consistent.
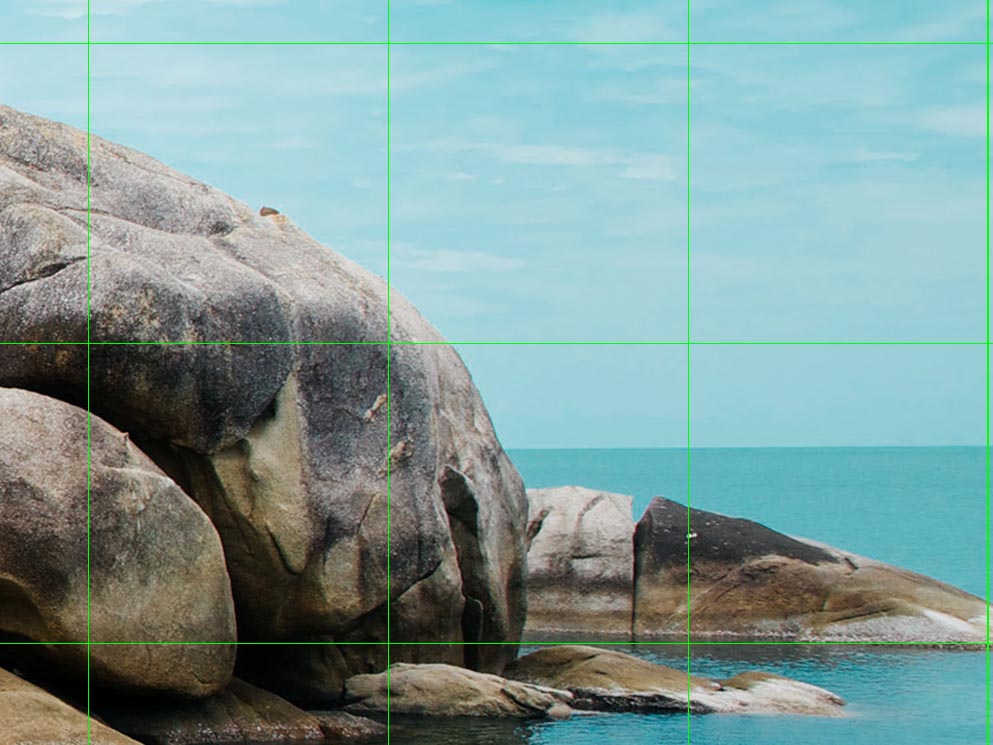
The image below has an 8 by 10 grid of boxes over it. Click on the image for it to expand to the size of your screen. You can also print the image, and it should print out at 8 inches by 10 inches (depending on your printer settings.)

Step Two: Big Shapes
The next task is one of the most important tasks. It is something that beginners rarely do. It is also primarily a mental task, in that, it is a directive to keep in mind to guide the first things you do as you begin constructing the drawing.
The task is to take a step back, or move back to create some distance from the picture and squint your eyes in to a very soft focus. Then, ask yourself and focus your mind on the big and major shapes are in the picture.
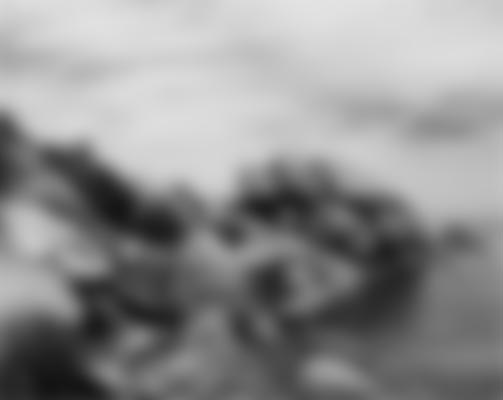
After you've squinted and focused your mind on the big major shapes in the picture, the next task is to begin outlining those shapes with very basic lines.
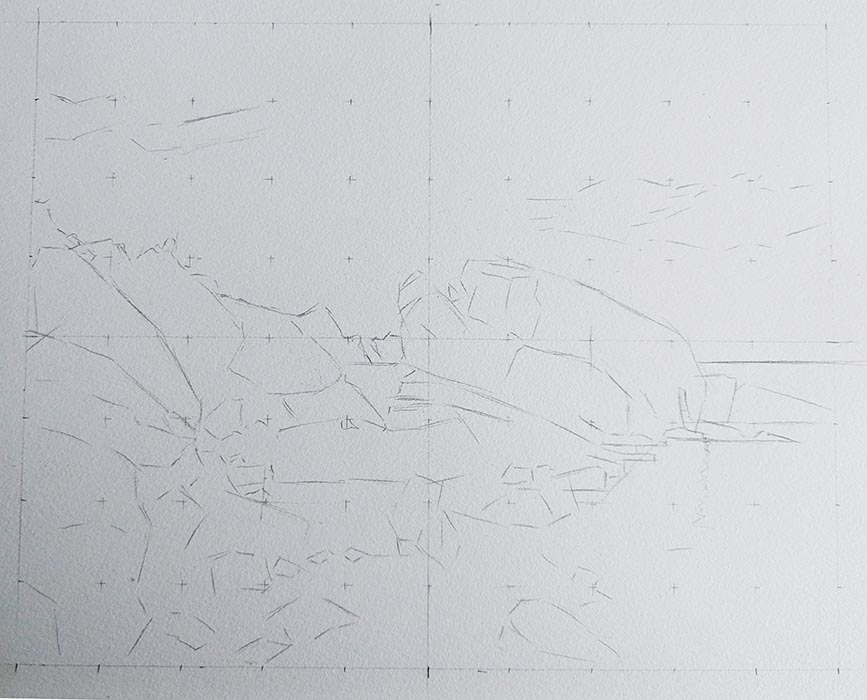
So begin your drawing by picking one of the boxes in the picture that contains the outline of a major shape. Find the corresponding box on your grid, and lay down a very light and simple line to describe the major line in the picture's box.
At this point, you do not need to worry about filling in any detail. The time for that will come. For now, for each box, just squint your eyes and put down the most basic line, or a couple of lines that you see.
Don't put down any tone. Don't try and draw any details. Just keep the lines very very basic. Don’t even worry about completing shapes at first, just keep squinting and asking "What is the most basic line in this box?"

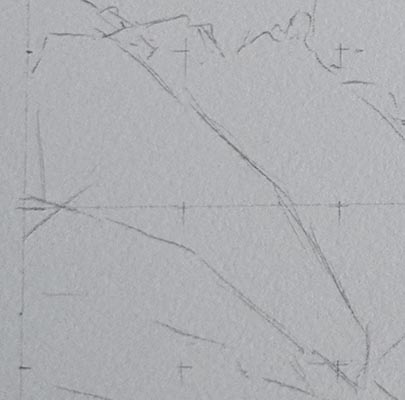
As you proceed through all the squares in the grid of the whole picture and put down very simple likes, you will see the basic shapes in the picture emerge.
As you do this, take it one square at a time. Don't bother with any curves, or try and get in any details, just stick to very light and straight lines. Don't worry about getting the lines perfect, and don't spend too much time on any one box, just put down your best initial guess.
Important Point: Precision is Iterative
An important point I need to make right now is this: Precision is Iterative. What I mean by this is that if you want to create a very precise and realistic drawing, it is next to impossible to get everything right on the very first attempt. Even the most experienced artists cannot expect their first lines to be perfectly placed and immovable. So the first task is to just throw down some lines, as best as you can, and to keep them light and movable. Having those initial lines to evaluate in the next phase of the drawing will give you something to check, measure, judge, and correct, and thereby move your drawing to a higher level of accuracy.
Step Three: Basic Lines
So once you've got basic lines in place for the outline of the major shapes, the next task is to take a pass through all the squares in the picture, and lay down some basic lines on your drawing.
If you take each square, one square at a time, and you squint, you should begin to notice that there are only one, two or sometimes three basic lines in each box. Don't worry about any more than that.
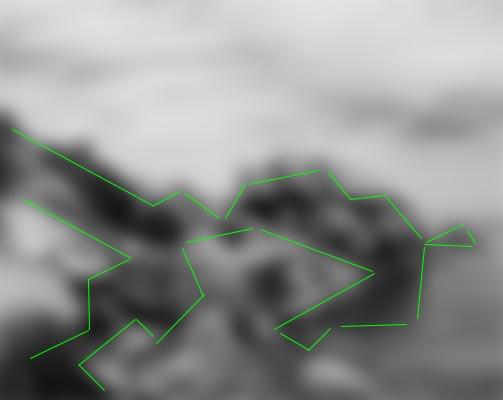
Again, don't worry about drawing any curves, or details, or any complicated shapes. What I am describing should result in a drawing like the one below. Note that there is a rough statement of the major forms. There is more detail than the simple outline of the major forms, but there is no detail and not even any completed shapes.
Step Four: Completed Shapes, Simple Tone
Every step is just preparation for the next step. Now that you have a basic line drawing of the forms in the picture, you've set yourself up for another pass.
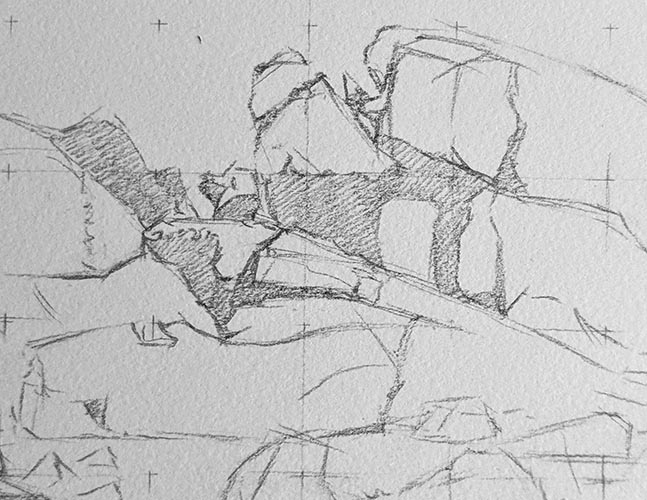
For the next step, go through each square in the picture again. This time, look for how you can break down the lines you've already placed, into more lines that match the picture. At this point, it's still important to squint, but less so. Since you've established a framework already, you are ready to squint less or even stop, and start breaking the lines you established into ones that describe the shapes in the drawing further.
This point in the drawing may well entail quite a bit of erasing and fixing lines, which is fine.
At this point, I will say it is o.k. to engage in a bit of a trick or technique that will aid your accuracy at this point. That is, to start looking for bounded shapes that you can complete and fill in with a very light and uniform tone. When laying in a tone, use a light touch and even pressure. What you want is a tone that is gently ‘colored in’ enough to read as a consistent value to the eye.
There is a mysterious mental thing that happens when you complete a shape and fill it in with a tone. The shape immediately becomes a unit or simpler item for your mind to compare to other nearby forms.
The key here is again to show restraint and stick to the goal. At this point you are not rendering or adding a lot of detail, you are just refining your shapes and forms, and using a light tone to complete simple shapes to help differentiate against other shapes.
Turning Point
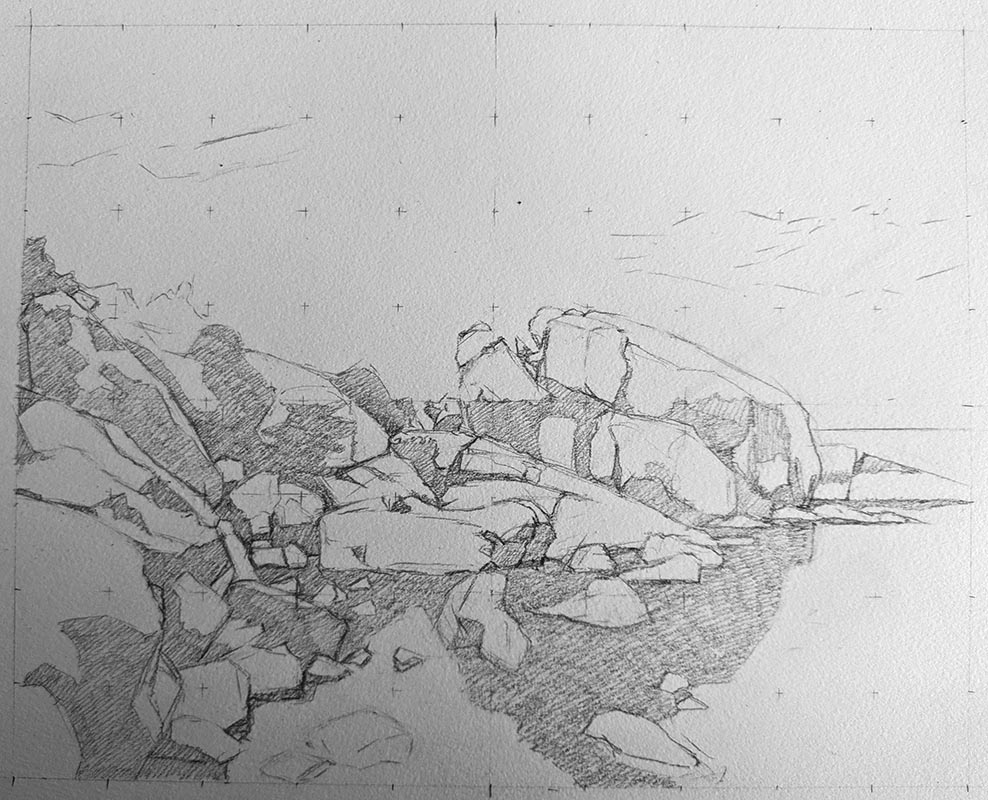
Once your drawing has basic lines describing all the major shapes and some basic tone, you are at a turning point. At this point, you could easily stop with the pencil drawing and switch to color pencils, pastel, watercolor, ink wash, or gouache. The drawing at this point can also be the basis of an oil or acrylic painting.
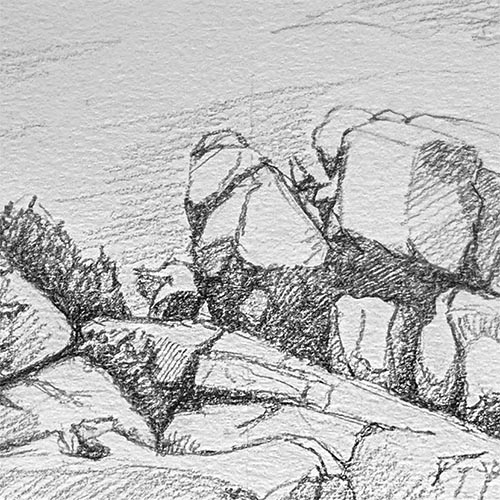
Final Step: Rendering
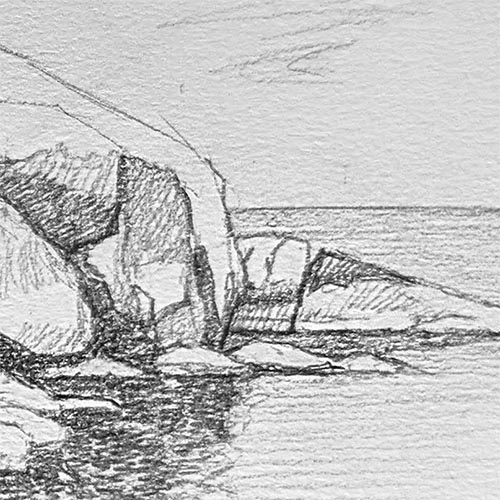
If you wish to continue drawing with a pencil, the next phase I will call rendering. What I mean by rendering is focusing in on a particular small section of the drawing and describing the more detailed form and texture.
With regard to how to go about rendering, this is less straightforward than the earlier stages of the drawing. In basic form, the process is just the same as all the previous stages: divide and conquer. Start by squinting and focusing on the basic shapes, look at your drawing and look for ways your simple lines could be adjusted to match the nuances of line in the picture. Also, while doing all of the above, seek to carve out smaller and smaller areas of shape and placing tone or adjusting existing tone shapes.
With regard to tone, I strongly recommend keeping in your mind only two tones: a light tone and a dark tone. A beginner may think that drawing entails varying pencil pressure in order to create gradation, and use that gradation to describe the form. I believe this is also a trap, and it is a better operational approach to just keep focused on two basic tones.
The subject of rendering also raises the subject of special techniques to use with a pencil to render textures like water, clouds, or leaves. I, personally, have never learned or adopted anyone else's prescribed techniques. I believe a solidly constructed drawing using the procedure I've described in this drawing tutorial sets the stage for you to do some gentle experimentation, on your own, to find your own ways of rendering at this point.
When is a drawing finished?
The final step I describe is rendering, which leads to the question: when is the rendering finished? Another huge trap that beginners fall into is thinking that the whole drawing is just rendering. The whole point of this drawing tutorial is to illustrate that a proper method to approach the whole process of drawing. The point of the method is to set up a substructure of lines and shapes. This substructure should do most of the work of describing the form you are drawing. The result is that if done well, you should not have to spend a lot of time rendering. Or, rendering should be a small percent of the total effort you put into the drawing.
Another trap you can fall into is to have uneven levels of rendering and finish in the whole of a drawing. This is not a hard and fast rule, but I think that well-done drawings generally have an even level of rendering and finish, across the entirety of the drawing. I think drawings can also work with one single area with extra finish and rendering, while the rest remains less detailed and finished.
Ultimately it is up to you to make the decision about how much total time and effort you want to put into one single drawing. I believe if you follow the entirety of the process I describe, and put forth some honest effort at each stage, you've done well. Just as the process of doing one drawing is a series of steps that build on each other, the process of you becoming better at drawing is an iterative process of doing these steps multiple times.
Conclusion
I hope you've enjoyed reading this drawing tutorial. It's a description of how to draw one picture, but it is also a description of a process and procedure that I hope you can apply to your other artistic endeavors. So to finish, here are some bullet points to keep in mind as you work through this and other drawing projects:
- Work Big to Small: Always start with the big shapes, big picture, big look....and break it down.
- Work the whole: Take the drawing as a whole through the various stages, don't get stuck or over render one area
- Precision is Iterative: The first marks are never perfect. Every pass you make through the drawing sets the stage for the next.
- Always keep the pressure of all your marks light enough so you can fix any part of your drawing (even in your darkest tones.)
The photo in this tutorial is by Anthony Delanoix and a hi-res version can be downloaded here.